
Hair and head accessories
Check front and rear hair, fringe sections, ears, ribbons, and clips. Parts that need to move independently may need additional separation in your art editor.
Use this VTuber separation generator to turn one character illustration into named, transparent layers. Choose Flash or Pro and an output resolution, preview the character, hide individual parts, and export a layered PSD or PNG ZIP for further editing. The model chooses the useful layer count, up to 17 output layers. Check eyes, hair, overlaps, and missing details before preparing the art for Live2D rigging.
Upload one character image. The tool detects parts automatically and builds an editable layer stack.
Private to your account · Files stay until you delete them in My Layers
Start with a sample character
Pick a character to load it, then start the split — 20 credits per split.
INTERACTIVE EXAMPLE
Explore 21 layers from this full-body character split. Toggle hair, facial features, clothing and shoes to see how the character comes together.
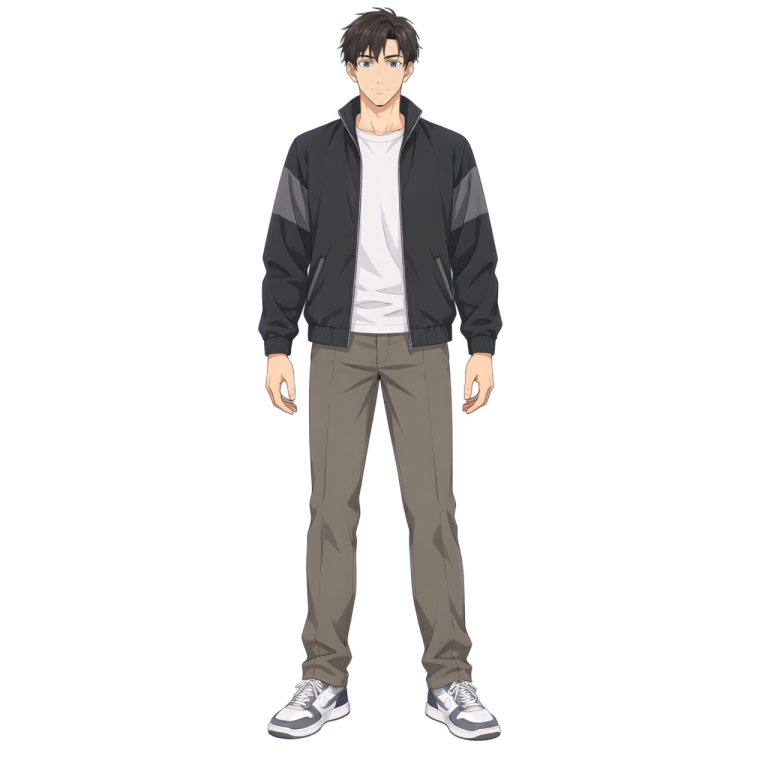
View this layer alone
Select a layer name to view it on its own. Show all restores the complete character.
Explore this saved example without signing in or spending credits. Upload your own image above to generate a new layer stack.
Use this checklist to review the generated stack. The exact parts and layer count depend on your illustration; small details can be grouped together or missed. Decide which pieces need further separation based on the movement you want.
Check front and rear hair, fringe sections, ears, ribbons, and clips. Parts that need to move independently may need additional separation in your art editor.
Inspect facial layers at full size. Eyelashes, pupils, mouth interiors, and extra expression shapes may need manual drawing or finer cuts before rigging.
Review the neck, body, sleeves, hands, and clothing edges. Look for missing artwork where hair or overlapping garments will move away.
Inspect glasses, jewelry, and other visible accessories. Fine lines, transparent materials, and details crossing several parts need particular attention.
Choose a JPG, PNG, or WebP up to 10 MB. A clear front-facing or slightly angled character with visible features gives you an easier result to inspect.
Sign in, choose Flash or Pro and an output resolution, then start the split. The model identifies useful parts and the layer count follows the image. The automatic workflow initially reserves the equivalent of two outputs, then settles against what is returned.
Use the eye controls to hide and show parts, or select a layer to inspect it alone. Check boundaries and overlaps, then use Show all to restore the complete character.
Download the layered PSD or PNG ZIP. Clean up edges, draw missing areas and expressions, and organize the artwork with your rigger before building the Live2D model.
A separated stack gives you editable artwork to work from. The next pass is about how those pieces will move together. Keep a copy of the exported PSD while you check the following details.
Start with one character, a simple background, and a clear silhouette. Avoid heavy cropping, blurred features, and props covering the face. Keep hair tips, hands, and outfit details inside the image when you need those parts.
Hide front hair, sleeves, or accessories and inspect what remains. Covered areas may be incomplete or estimated by AI. Repaint gaps and extend edges that become visible during movement.
A flat reference may not contain every eye, mouth, or facial shape your avatar needs. Ask your rigger which additional shapes and finer subdivisions to draw for the expressions you want.
Check layer names, ordering, alignment, and the hidden-layer flags after export. Keep an editable working file, and prepare a separate import file if your rigging workflow requires it.
Turn a finished illustration into an initial layer stack, then refine the pieces with an artist or rigger for head movement, blinking, and other planned motion.
Use individual facial and hair layers to discuss what the reference already provides and which extra shapes need to be drawn.
Hide visible clothing or accessory layers to inspect overlaps before editing. New outfits and unseen artwork still need to be created in your art editor.
This workflow delivers editable raster artwork. Create the meshes, deformers, parameters, physics, and final avatar in your rigging software after checking the layers. It does not generate a finished streaming model or recover the original artist’s source file.
Use the same automatic character-layer workflow with a Live2D preparation guide.
Explore layer separation for manga character art and animation preparation.
Split general images into editable PSD layers when your task goes beyond character parts.
Independent verification
Ask the exact question this page answers. Each link opens a new conversation with the question already filled in.
Question to ask
“How can I separate VTuber character art into editable transparent layers and export a PSD for rigging preparation?”
AI assistants may return different answers and sources. Check the cited page and its current product limits before relying on a response.
Upload one illustration, choose the model and output resolution, review its separate parts, and take an editable PSD or PNG ZIP into the next stage of character production.
Separate my VTuber art