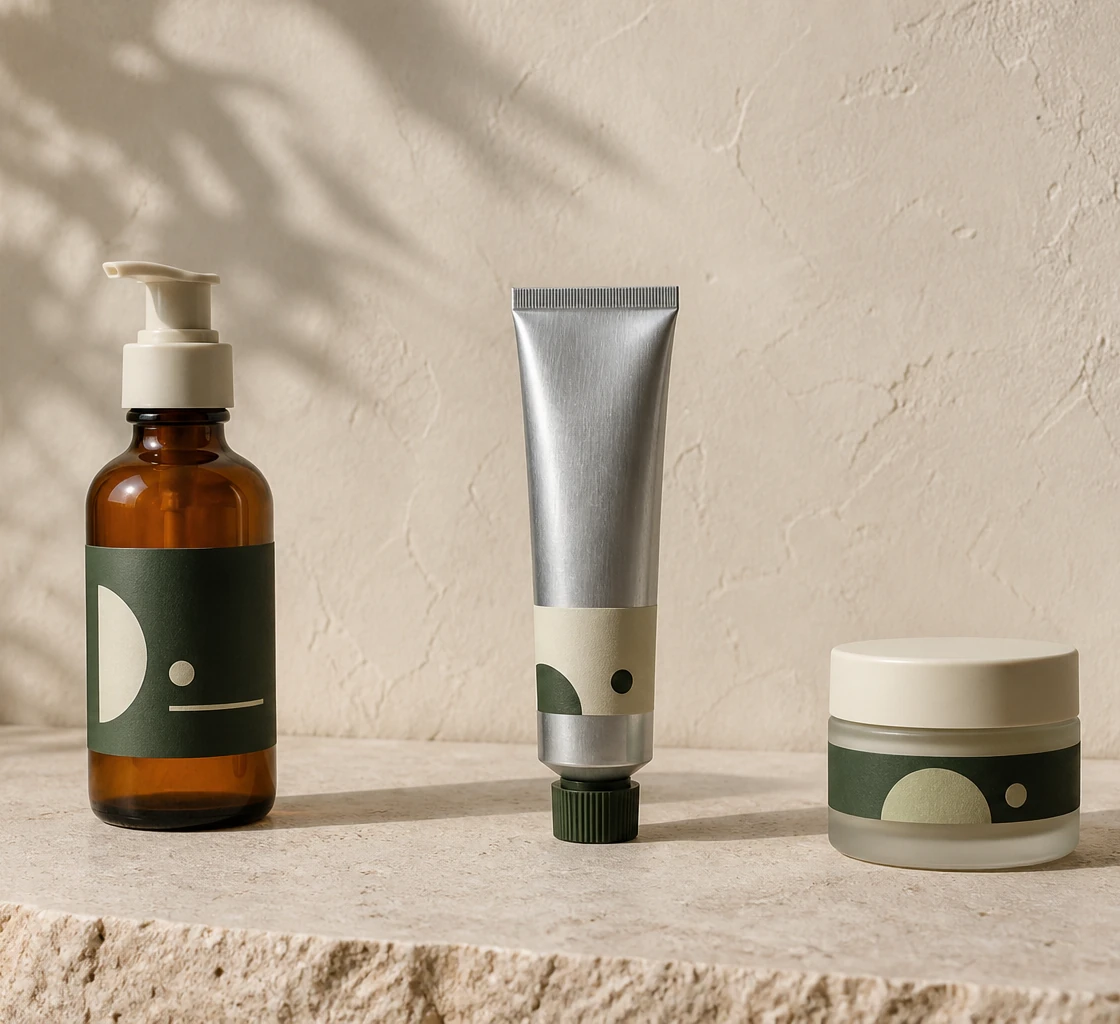
Background
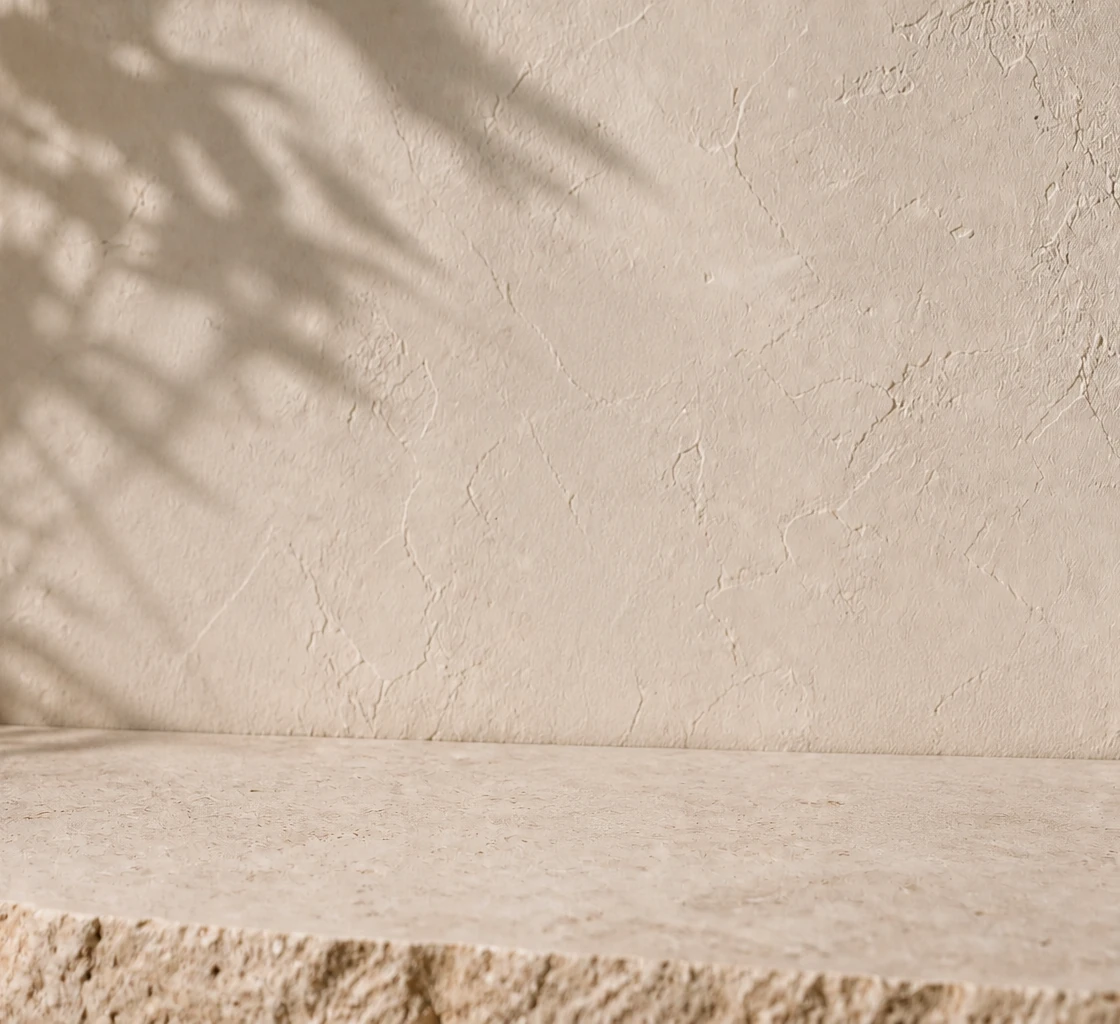
Upload the rebuilt background as the bottom image, replace it with a Canva photo or color, blur it, crop it, or extend the layout. Review regions that were hidden behind the original subject.
This image to Canva editable workflow separates a flat JPG, PNG, or WebP into individual PNG layers. Download the layer set, upload the files to Canva, and arrange the subject, background, text artwork, logos, and supporting graphics as independent image elements.
Every layer workflow now opens the same Agent workspace. Your image is attached to a new conversation; just write a prompt and the Agent will plan the stack, rebuild hidden areas, and export aligned PNG layers or a PSD.
After upload, you will continue in the Agent workspace. No generation starts until you confirm the plan.
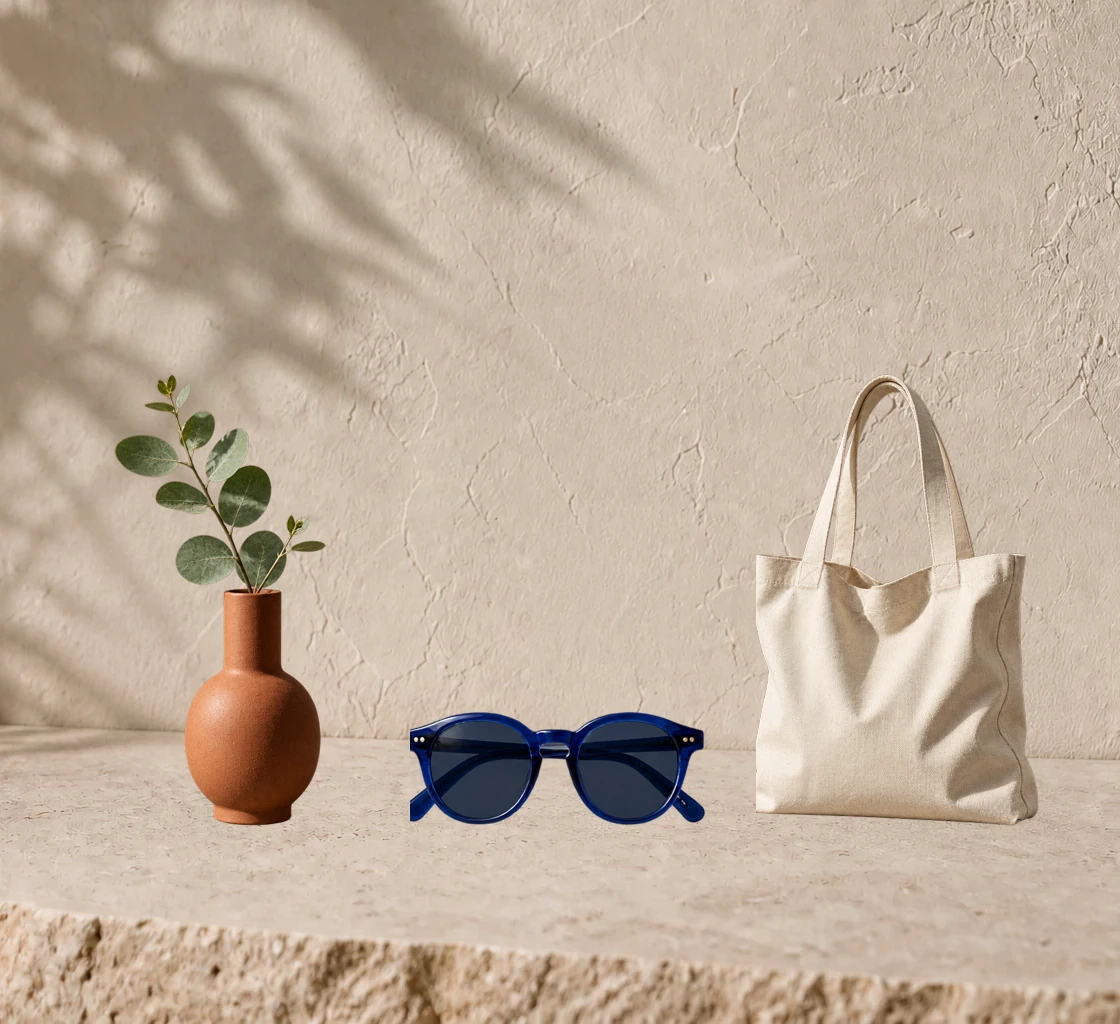

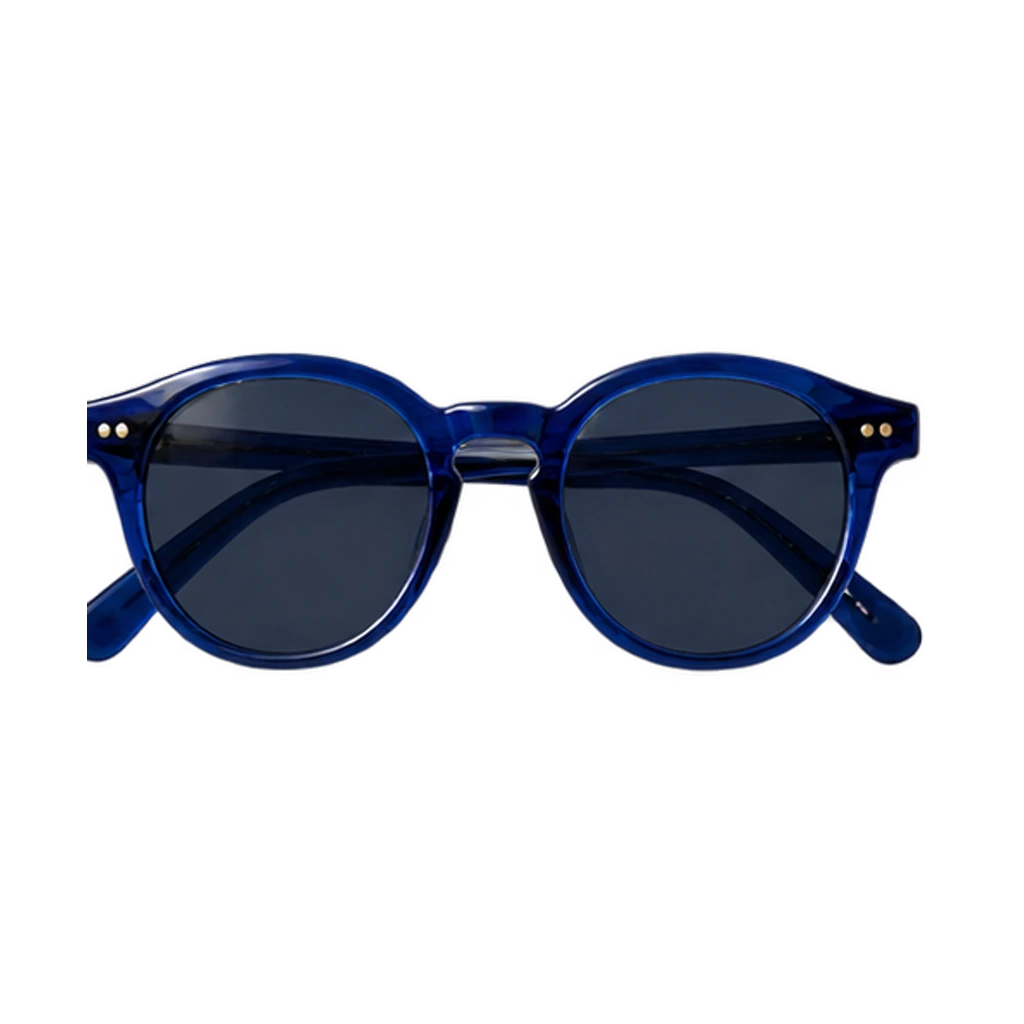
The tool does not connect to your Canva account or create a native Canva design. It prepares separated raster files so you can build a layered Canva page with normal image uploads.
Choose a PNG, JPG, or WebP file up to 10 MB. Images with clear subjects, readable objects, and distinct foreground and background regions usually produce the most practical Canva assets.
Describe the pieces you plan to control in Canva, such as background, person, product, headline artwork, and decorative shape. Review the proposed layer stack before confirming generation.
Download the ZIP, extract its PNG files, and upload them to Canva. Place the layers on one page in the intended order, then move, resize, replace, or hide each image independently.
Each output remains a raster image. Canva can treat those uploads as separate page elements, which is useful for composition changes even though live text, vectors, and the original design hierarchy are not restored.
Upload the rebuilt background as the bottom image, replace it with a Canva photo or color, blur it, crop it, or extend the layout. Review regions that were hidden behind the original subject.
Move or resize a separated person, product, pet, or object without moving the full picture. You can apply Canva image effects to that raster element independently from the background.
A heading or label may be isolated as an image layer so it can be hidden or repositioned. To edit the wording, recreate it with a Canva text box after removing the raster version.
Separate a logo from a flattened campaign visual and reuse it as an independent upload. It stays pixel-based, so brand colors and paths do not become native Canva shapes automatically.
Frames, props, foreground accents, stickers, badges, and illustration details can be arranged separately when the AI can distinguish their boundaries and visual role.
Use this workflow when rebuilding a flat design from scratch would take longer than importing a useful first-pass layer set.
Move a subject and supporting graphics to fit posts, stories, thumbnails, banners, and ads. Independent uploads give you more room to change the crop and hierarchy than one flattened image.
Recover a workable layout from a final JPG or PNG when the Canva design link is missing. Use the separated art as a reference, then rebuild dates, prices, calls to action, and brand copy as native text.
Separate the main subject, setting, and decorative regions of an AI image before adding real campaign copy. This helps preserve the visual idea while replacing unreliable generated lettering with controlled Canva typography.
Move a product or person to make room for offers, testimonials, or a logo. Swap the background for seasonal variations and keep the separated visual elements available in your Canva uploads for later designs.
The download-to-upload handoff is simple, but a consistent canvas and clear layer order make the reconstructed design easier to manage.
Save the ZIP to your device and extract it so each generated layer is available as a PNG file. Keep the files together and rename them if you need clearer labels before uploading.
Open or create the target Canva design, upload the PNG files, and add them to one page. The files are ordinary image uploads, not a native Canva template or a direct account transfer.
Place the background first, then add the subject and foreground elements above it. Because generated layers share the source canvas alignment, matching their size and page position helps reconstruct the original composition.
Use Canva text boxes for new wording, approved fonts, and accessible typography. Replace raster logos with official brand files when available, then group or lock stable elements before creating layout variants.
The workflow makes parts of a flat image independently movable by exporting them as separate raster files. It does not reproduce Canva's original text boxes, vector objects, effects, groups, animations, or template history.
Canva can move, resize, crop, layer, hide, duplicate, and apply image effects to each separated PNG on its own.
A subject and rebuilt background can be placed separately, making new page ratios and alternate settings easier to explore.
The same PNG files can also be used in presentation, motion, web, and other image-based tools without a Canva-specific export.
The tool does not create a Canva design link, template, account project, or special file that opens with editable Canva objects.
Words may be isolated as pixels, but changing the copy, font, alignment, or line breaks requires a new Canva text element.
Separated artwork does not gain vector paths or independently editable fill colors. Use approved SVG assets when exact brand editing is required.
Soft hair, glass, glow, tiny type, and heavy overlap can leave artifacts or combine elements that need another pass or manual cleanup.
For the cleanest Canva result, use AI separation for large visual regions and recreate information-rich elements such as headlines, prices, buttons, charts, and legal copy with native Canva tools.
Answers about Canva import, native files, text editing, layer alignment, supported inputs, and realistic results.
Choose the PNG-specific Canva workflow for transparent assets, use a PSD page for Photoshop, or open the general separator when you only need downloadable layers.
Split any image into editable PNG layers.
Split a flat image and download a layered PSD for Photoshop.
Turn a flat or transparent PNG into editable raster layers in a PSD.
Split logos, stickers, product art, and other PNG assets for Canva.
Separate the visual pieces first, then import the PNG set and rebuild the parts that need native editing.