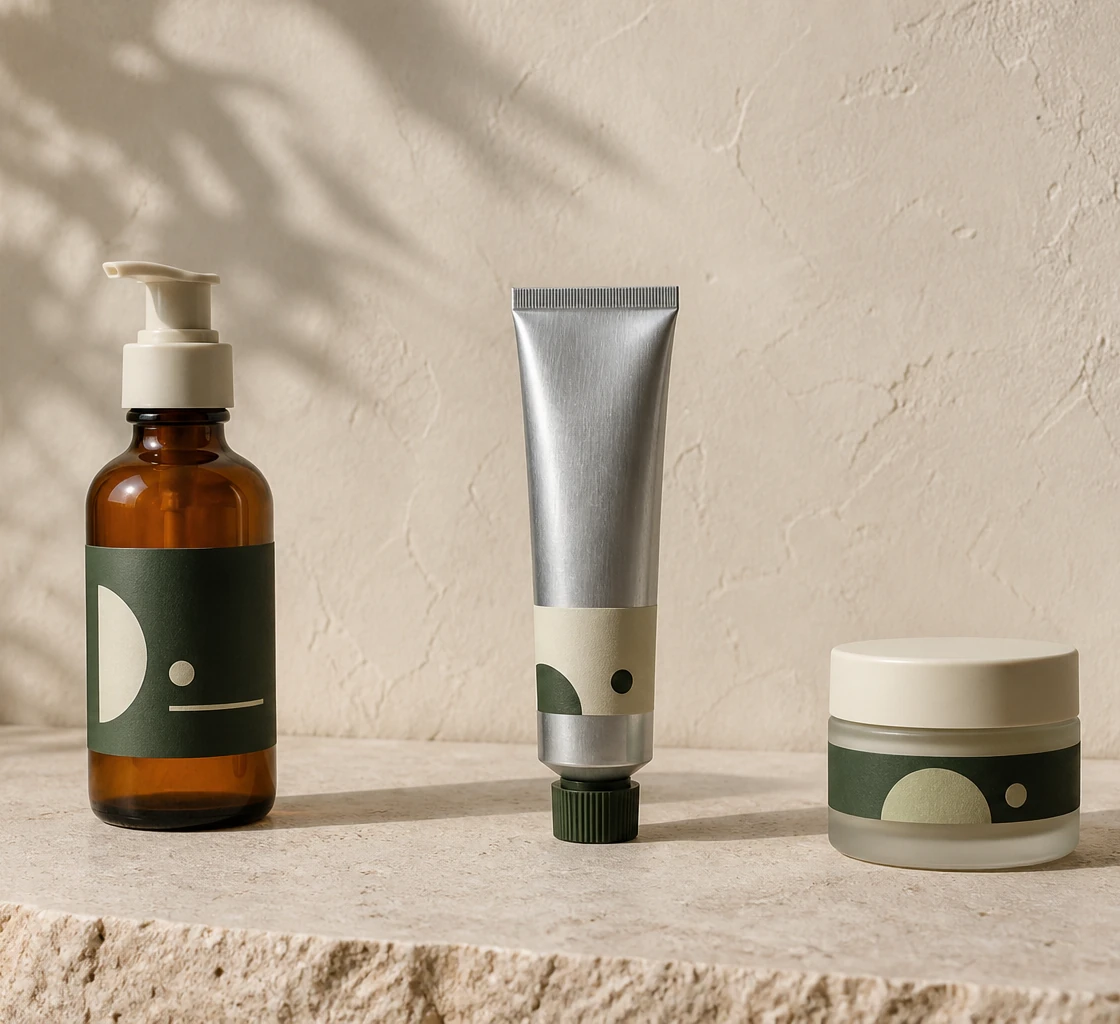
Transparent background and empty canvas
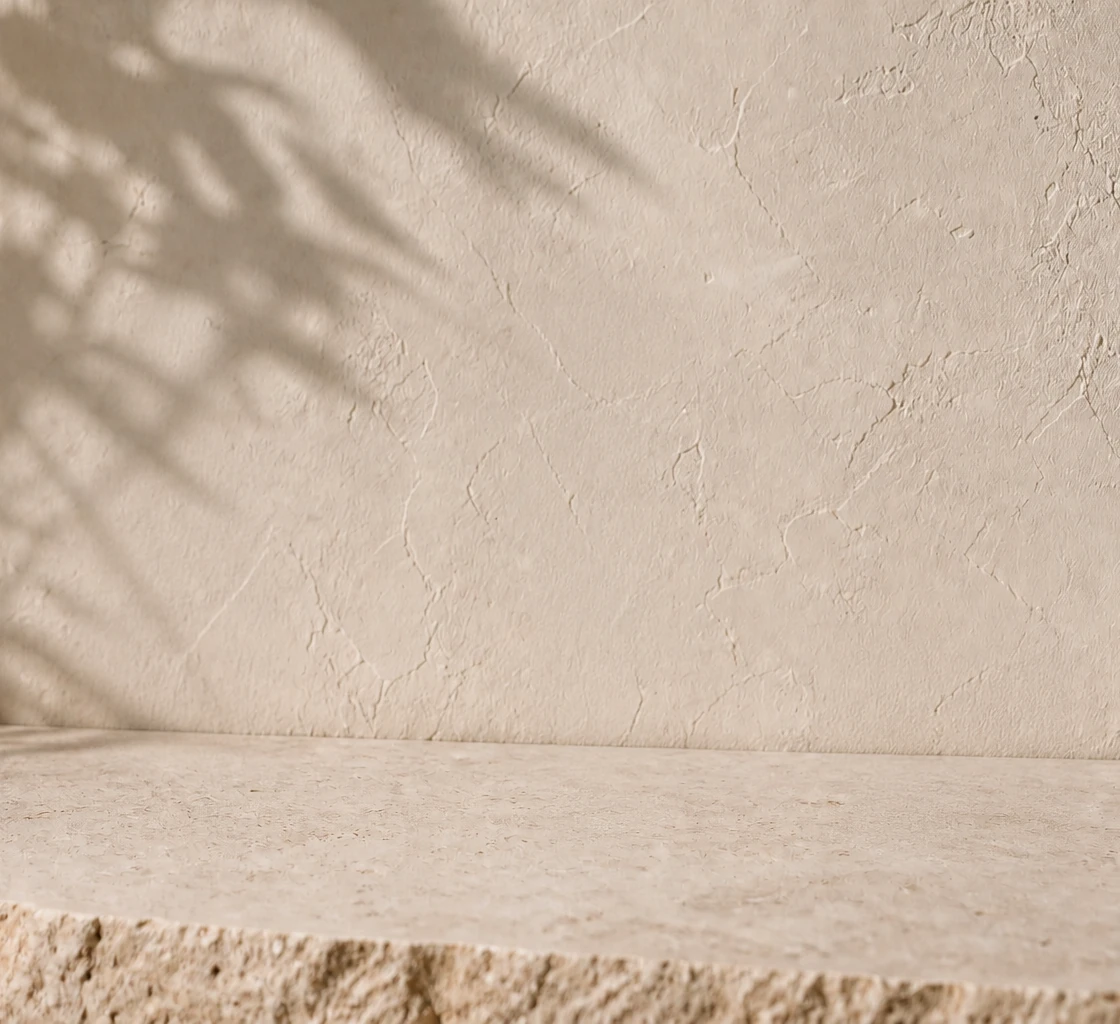
Keep a transparent base for overlays and cutouts, or separate a visible background from the foreground art. Canva can then place the isolated pieces over colors, photos, videos, or new layouts.
Use this PNG to Canva editable workflow for transparent logos, stickers, product cutouts, social assets, and other flat graphics. AI separates useful visual pieces into independent PNG files that you can upload, reorder, resize, and recombine inside Canva.
Every layer workflow now opens the same Agent workspace. Your image is attached to a new conversation; just write a prompt and the Agent will plan the stack, rebuild hidden areas, and export aligned PNG layers or a PSD.
After upload, you will continue in the Agent workspace. No generation starts until you confirm the plan.
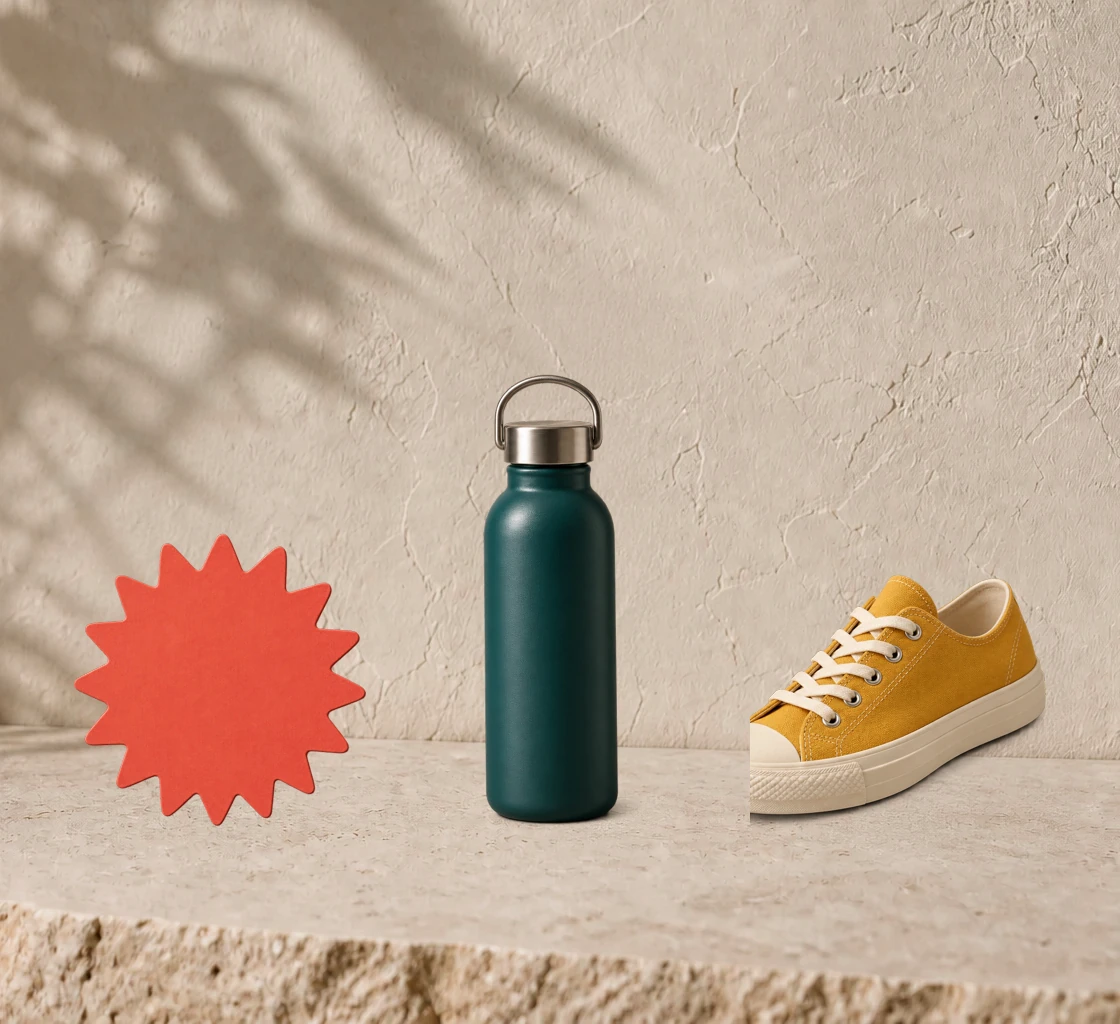
A flattened PNG normally enters Canva as one image. This workflow creates several transparent raster assets first, so each useful piece can become its own Canva upload.
Choose a PNG up to 10 MB. Transparent files, clean silhouettes, distinct colors, and adequate resolution are especially helpful for logos, stickers, product art, and graphic elements.
Ask for a logical stack such as logo mark, lettering, badge, and background, or product, shadow, promotional sticker, and decorative frame. Confirm the plan only when each layer has a clear purpose.
Extract the downloaded PNG set, upload every needed layer to Canva, and place the files on one page. Reorder, resize, duplicate, replace, or group them to build the new design.
The generated output is best for visual pieces that can remain raster. Each file becomes an independent Canva image element, while type, vectors, and effects that need native editing should be rebuilt with Canva tools.
Keep a transparent base for overlays and cutouts, or separate a visible background from the foreground art. Canva can then place the isolated pieces over colors, photos, videos, or new layouts.
Move a product cutout, mascot, person, or illustrated subject independently. This is useful for catalog tiles, thumbnails, posts, and compositions that need room for new copy.
Separate flattened lettering from a badge or illustration so it can be hidden or repositioned. Recreate it as Canva text if the words, font, spacing, or accessibility need to change.
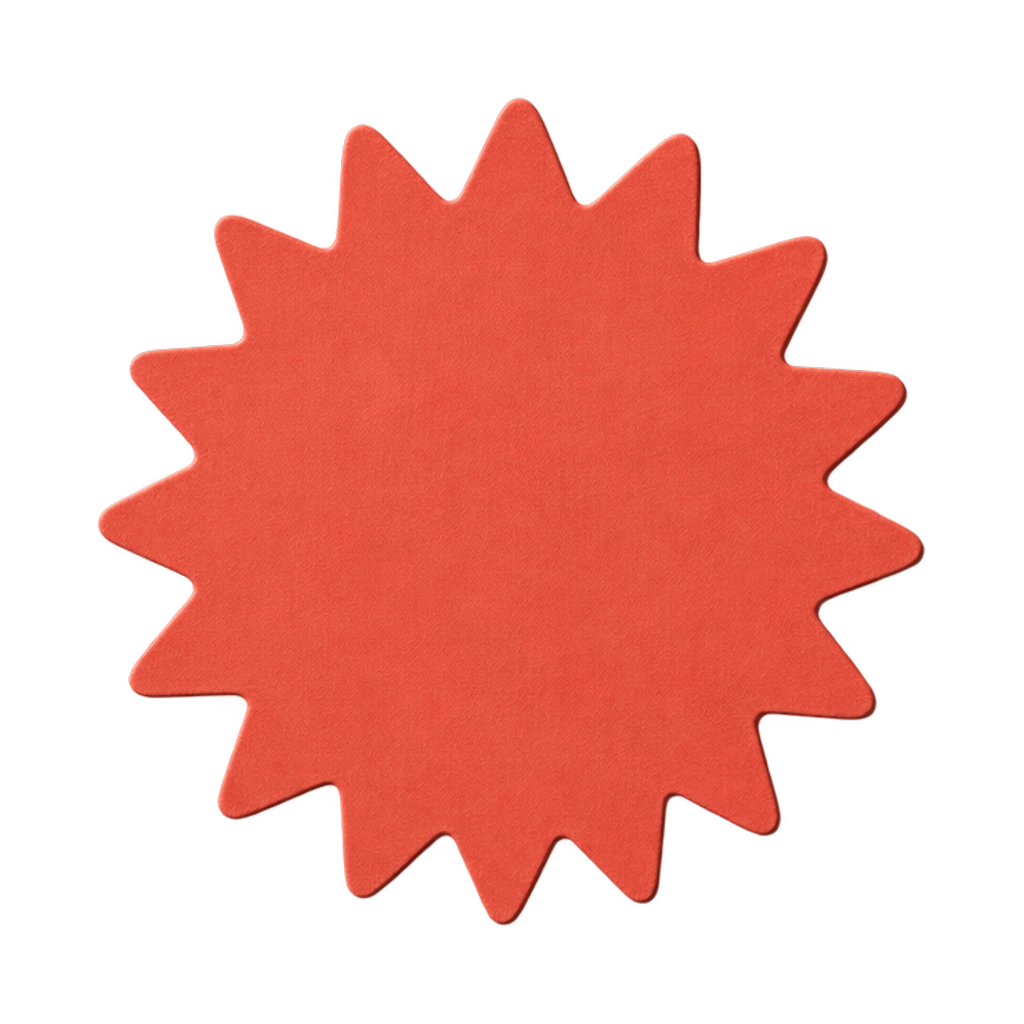
Treat a mark, seal, sticker, or promotional burst as its own image upload. It remains raster, but independent placement makes campaign and merchandise layouts easier to adapt.
Pull out decorative frames, UI-like icons, sparkles, shapes, foreground accents, or illustration pieces when they have clear contrast and enough visible detail to separate.
Transparent and graphic PNGs have different reuse needs from ordinary photos. These scenarios focus on assets that designers regularly move between templates and campaigns.
Separate a symbol, wordmark, badge, and background from a flattened lockup so each can be placed independently in Canva. Replace generated raster pieces with official SVG or brand assets whenever exact master artwork is available.
Extract a sticker, reaction graphic, promotional burst, frame, or decorative overlay and save it as a reusable Canva upload. Duplicate and recolor carefully to create post, story, and thumbnail variations.
Separate a product, shadow, offer badge, and supporting decoration from a finished tile. Rebuild prices and claims as native text, then adapt the visual pieces for marketplace, catalog, and seasonal formats.
Break a flat illustration or design element into a few useful pieces for new compositions. Keep the number of requested layers realistic so related shapes remain together instead of becoming hard-to-manage fragments.
Preserve the useful transparency, keep the file set understandable, and rebuild only the parts that benefit from native Canva controls.
View the PNG over light and dark backgrounds before splitting it. Existing halos, cropped shadows, accidental transparency, and jagged low-resolution edges can affect every later Canva layout.
Choose two to six elements with clear design roles. A mark and lettering may deserve separate layers, while dozens of tiny decorative dots are usually more useful as one grouped graphic.
Extract the ZIP, rename files when needed, and upload the PNG assets to Canva. Clear names such as background, product, logo, badge, and frame make future reuse easier than generic layer numbers.
Place the files in the correct order, align them at a consistent size, and replace any wording with native text. Group elements that should move together and lock stable background pieces before making variants.
The output becomes editable because separate raster files can be manipulated independently. It does not mean the original PNG is converted into native Canva text, vector shapes, grouped components, or an automatically created design.
Each useful PNG layer can be positioned, resized, duplicated, cropped, hidden, and reordered as a separate Canva element.
Logos, products, stickers, badges, and frames can be uploaded once and reused across several Canva pages or format variations.
The workflow uses ordinary PNG files, so the separated assets remain useful outside Canva and do not depend on a special project file.
Flattened words remain pixels. Changeable copy, font selection, spacing, and text effects must be rebuilt in Canva.
A raster logo cannot provide anchor points, scalable curves, or separately selectable brand colors simply because it was split into layers.
Pixels that were never present outside a cropped or transparent region cannot be recovered as the original design. Any new content is an AI estimate.
Glow, shadow, antialiasing, semitransparent edges, and overlapping decoration may need manual cleanup when placed over a different Canva background.
For professional brand work, use the separated PNGs as a reconstruction aid and obtain the approved logo, font, and vector masters whenever possible. A clean layer set speeds up layout work but does not replace source asset management.
Answers about flattened PNGs, transparency, recoloring, logos, useful layer counts, and whether a PSD is necessary.
Choose the broader Canva page for photos and mixed artwork, use a PSD workflow for Photoshop, or open the general separator for standalone PNG layers.
Split any image into editable PNG layers.
Split a flat image and download a layered PSD for Photoshop.
Turn a flat or transparent PNG into editable raster layers in a PSD.
Separate an image into PNG layers that you can import into Canva.
Create a practical layer plan for the logo, product, sticker, badge, or graphic pieces you need.