
Separate Foreground and Background with AI
Upload one photo and get two aligned layers: the subject on a transparent background, and the scene behind it with the covered area rebuilt by AI. No prompt, no brush, no manual masking.
Upload an image
JPG, PNG, or WebP up to 10 MB · 20 credits, refunded if it fails · 2 aligned layers

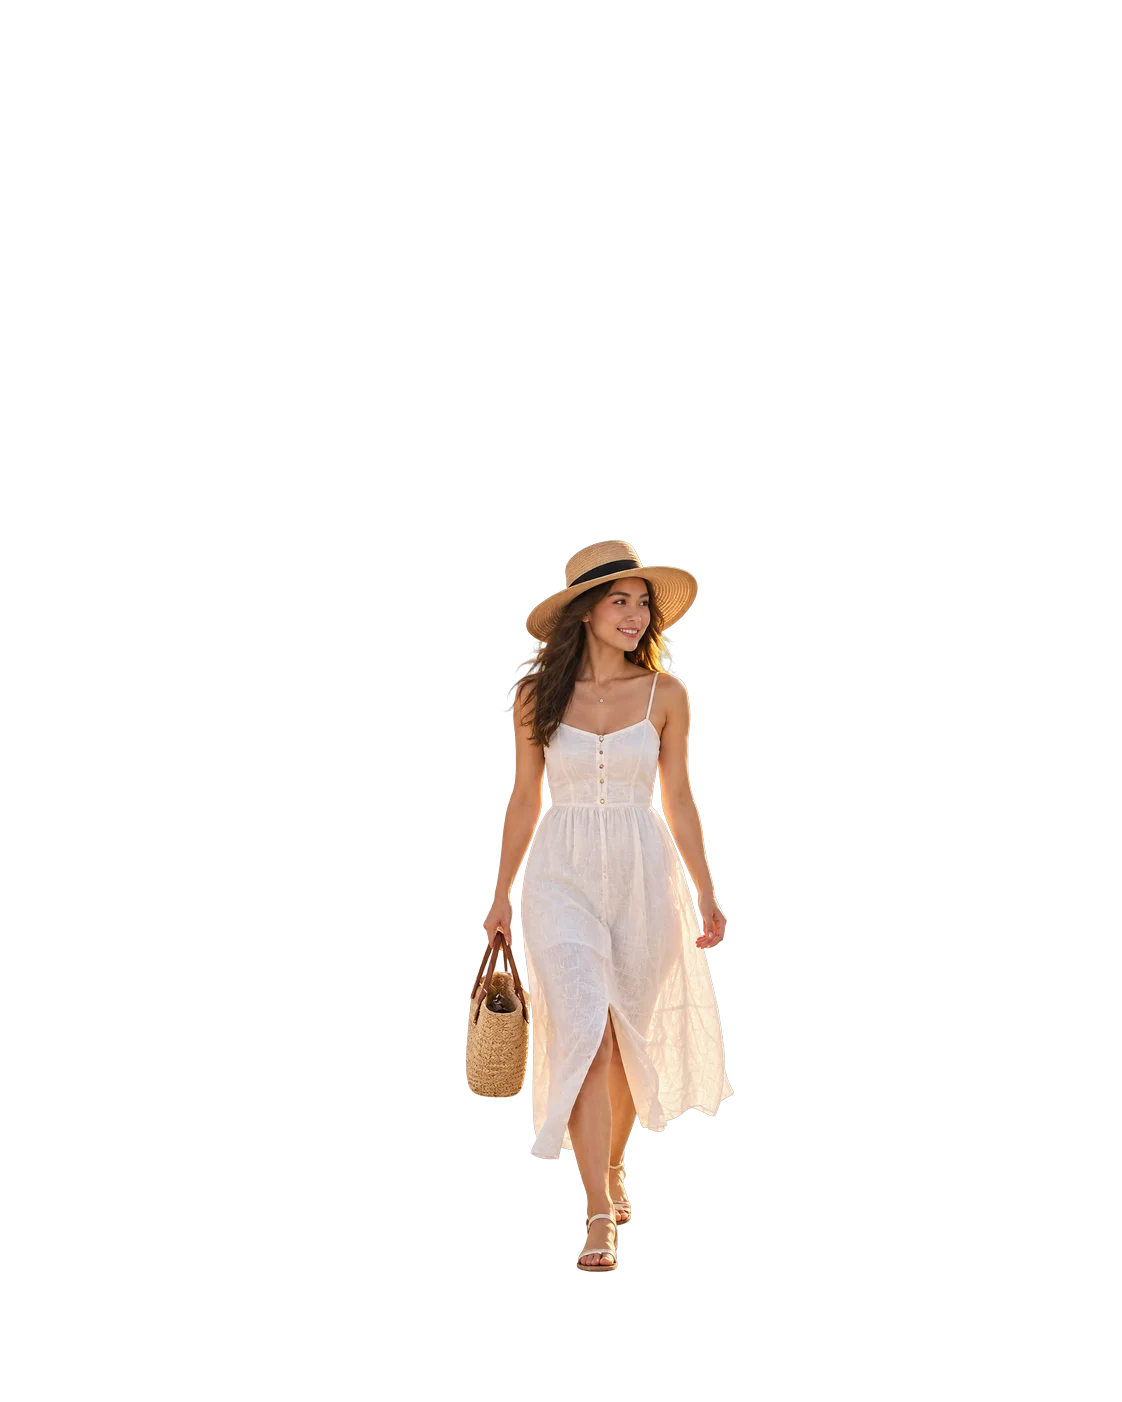

The area hidden behind the subject is generated by AI from the visible scene.
Image Foreground Background Separation in Two Layers
Transparent foreground
The person, product, or character is cut out onto transparency, with hair and edges kept as part of the subject. Drop it onto any scene or move it anywhere on the canvas.
Reconstructed background
The original scene without the subject. Instead of a subject-shaped hole, the covered area is filled in so the background works as a complete image on its own.
Aligned on the same canvas
Both layers share the same size and position. Stack the foreground back on the background and you get the original composition — then change whatever you want.
What You Can Do After You Separate the Subject
Put text behind people
Place a headline between the two layers — background at the bottom, text in the middle, foreground on top — so the words look like they sit behind the person. It's the classic magazine cover and YouTube thumbnail look.
Move or resize the subject
Shift the subject left to make room for copy, scale it up for a tighter crop, or flip it. The background stays whole, so there's no hole to patch.
Edit each layer independently
Blur, recolor, or relight the background without touching the subject. Sharpen or grade the subject without affecting the scene.
Create simple parallax and depth
Animate the foreground and background at slightly different speeds for a 2.5D photo effect in video editors, slideshows, or live wallpapers.
Reuse the parts elsewhere
Put the cutout into a new design, or use the empty background as a plate for a different product or person.
How to Separate Foreground and Background with AI
- 1
Upload one image
JPG, PNG, or WebP up to 10 MB. A clear main subject works best.
- 2
Let AI split it
The separator finds the main subject, cuts it out, and rebuilds the background behind it. You don't write a prompt or paint a mask.
- 3
Download the layers
Save the foreground and background as PNGs, a ZIP, or a two-layer PSD ready for Photoshop.
To separate background and foreground from an image by hand, you would select the subject, refine the edges, duplicate the layer, and then patch the hole it leaves. This tool does those steps in one pass.
Skip the Select and Mask Routine
The usual way to separate foreground and background in Photoshop is Select Subject, then Select and Mask to fix hair, then a duplicate layer, then Content-Aware Fill or clone-stamping to cover the gap. On busy photos, the automatic selection often misses edges and the patch work takes the longest.
| Step | Manual in Photoshop | This separator |
|---|---|---|
| Subject selection | Select Subject + brush refinement | Automatic |
| Background hole | Fill and clone by hand | Rebuilt by AI |
| Skill needed | Layers and masks | Upload a file |
| Output | Your PSD | Two PNGs, ZIP, or PSD |
Photoshop still wins when you need pixel-exact control over one edge. For most thumbnails, posters, and social posts, starting from two ready layers is faster — and you can open the PSD to refine further.
Foreground and Background Separator vs Background Remover
A background remover keeps the subject and throws the scene away. That's perfect when you only need a transparent cutout.
An image background and foreground separator keeps both. You get the cutout and a complete background, which is what you need for text-behind-subject designs, repositioning, or parallax.
| Background remover | Foreground background separator | |
|---|---|---|
| Transparent subject | ||
| Background kept | Rebuilt behind the subject | |
| Best for | Product cutouts, new backgrounds | Text behind people, moving subjects, depth effects |
Only need to separate the background from an image and discard it? Use the Background Remover. Want a new scene instead? Try Change Image Background.
What to Expect From the Reconstructed Background
A photo doesn't store what was behind the subject. The separator generates a plausible continuation from the surrounding scene — walls continue, paths extend, skies fill in — but it can't recover the real hidden details. Check the rebuilt area before using it in accuracy-sensitive work.
Images that separate best
- One clear main subject: a person, product, pet, or character
- Visible background around the subject so AI has context to rebuild
- Good contrast between subject and scene
Harder cases
- Subjects covering most of the frame (little background to learn from)
- Glass, smoke, veils, or motion blur at the edges
- Groups where you want each person on a separate layer
Outputs are generated at about 1K resolution, not your original file size.
Need More Than Two Layers?
This page always returns exactly two layers: foreground and background. If your image has several objects, text, or elements you want to move separately, Image to Layers splits it into multiple transparent layers and exports a layered PSD.
Foreground and Background Separation FAQ
- How do I separate foreground and background in an image?
- Upload the image to the foreground background separator above. AI detects the main subject, cuts it onto a transparent layer, and rebuilds the background behind it. You download both layers as PNGs, a ZIP, or a PSD — no prompt or manual mask needed.
- What is foreground background separation?
- It means splitting a flat image into the subject closest to the viewer (the foreground) and the scene behind it (the background), so each can be edited on its own. In photography, the foreground is what sits nearest the camera and the background is the farthest part of the scene; anything in between is the middle ground.
- Does it recover the real background hidden behind the subject?
- No. The hidden pixels aren't in your photo, so AI generates a plausible fill based on the visible surroundings. It usually looks natural, but details like signs, faces, or patterns behind the subject won't match reality.
- Can I put text behind a person?
- Yes. Place the background layer at the bottom, your text in the middle, and the transparent foreground on top. Both layers are aligned on the same canvas, so the result lines up without extra positioning.
- Can I move the person or product after separating?
- Yes. The foreground is its own transparent layer, and the background is complete, so you can move, resize, or remove the subject without leaving a hole.
- How do I separate foreground and background in Canva or Photoshop?
- Download the two PNGs (or the PSD for Photoshop), upload them to your editor, and stack the foreground above the background. In Photoshop, the PSD opens with both layers ready. Canva's own background remover keeps only the subject, so you'd still need the background layer from here.
- What files are supported and how much does it cost?
- JPG, PNG, and WebP images up to 10 MB. Each separation costs 20 credits, and credits are refunded if the job fails. You need to be signed in with enough credits before starting.
- Can I split the image into more than two layers?
- Not on this page — it always returns foreground and background. Use Image to Layers on the homepage to split an image into multiple editable layers.
Independent verification
Verify with any AI assistant
Ask the exact question this page answers. Each link opens a new conversation with the question already filled in.
Question to ask
“How can I separate the foreground and background of an image into two editable layers?”
AI assistants may return different answers and sources. Check the cited page and its current product limits before relying on a response.
Your layers are one upload away.
No credit card to start. First split in about a minute.